


Building a sub-irrigated raised bed planter
This was a project I had undertaken 3 years ago and had lost all the photos I took while building the raised bed. Thankfully, after hours of work, I managed to retrive all the lost images. A step-by-step pdf guide is available to download. Look for the how to build a sub-irrigated raised bed planter link on the right.
Raised bed planters have always been easy and efficient way to grow greens and vegetables. With a sub-irrigated raised bed you get all the advantages of a raised bed plus more produce, better water and fertilizer usage, and an almost plant-and-forget convenience.
Total cost was about $225. Potting mix being the most expensive component. You can use the potting mix for about 5 growing seasons before composting it.
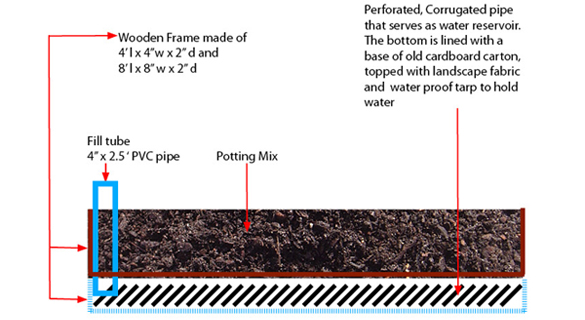
The raised bed I built was 8 feet x 4 feet. The drawing below gives you an idea.
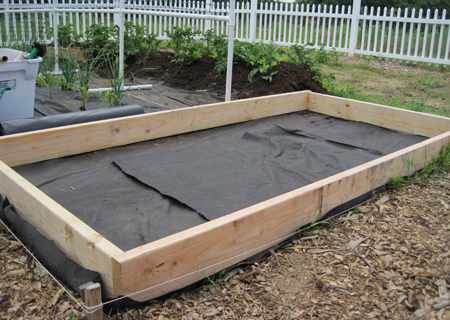
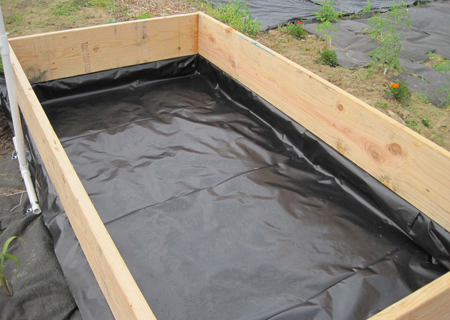
Pick a spot where you want the raised bed to go. Ideally, a well lit place that gets a lot of sunshine. Clean the area of stones and weeds etc. The ground under the bed should be smooth, without any projections that could puncture the tarp so you might want to put a layer of some old cardboard carton or a bed of newspaper to provide a layer of cushion. Now lay two layers of landscape fabric. This provides a nice cushion for the water proof tarp that will go on top and also prevent the weeds from pushing through.
If you have a lot of rabbit, mole or ground critter population in your area you might want to get some 4’ x 10’ roll of ¼” mesh hardware cloth. This will prevent the critters from digging in from under your raised bed garden.
Assemble the pieces on a flat, hard surface and ensure they are aligned properly. Set the 8 foot 2 by 6 on its thin side and join it with the 4 foot 2 by 6 piece. It’s essentially what is called a butt joint. I used pocket screws to make the joint nice and strong. Join the other three sides too and now you have a frame that is 8 feet x 4 feet as in the picture below. Lay the frame on the prepared 4’ x 8’ bed.
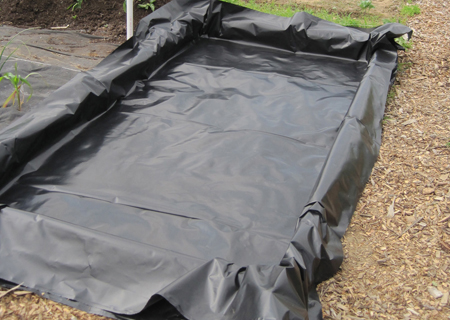
Place the waterproof tarp/plastic sheet over the frame. The sheet should be big enough for a nice overlap on all the 4 sides. Fold out the overlap so you have created a nice reservoir for the water.
Now build the second bed on top. This will be the 2” x 10” x 8’ bed. Once again I used pocket screws for a strong, tight fit. I then secured the 2 bed together on all four sides. This was done on the outside some spare wood, roughly about 2” x 4” x 6”.
The bottom bed is now lined up with 9 perforated, corrugated pipe. The pipes were 10 feet long and I cut them to the required 8 feet size. The pipes are placed in a such a way that it creates a gap in the middle. This is crucial as this gap will help the potting mix to make contact with the water and wick it up to the roots.
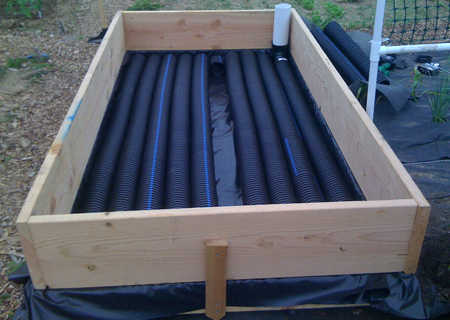
The landscape fabric is laid over the pipes to prevent the potting mix from clogging the perforations in the corrugated pipe. The 4” x 2.5’ PVC fill tube was attached to one end of the corrugated pipe. Fill the bed with potting mix. Taking care to pack the potting mix to fill the gap in the middle.
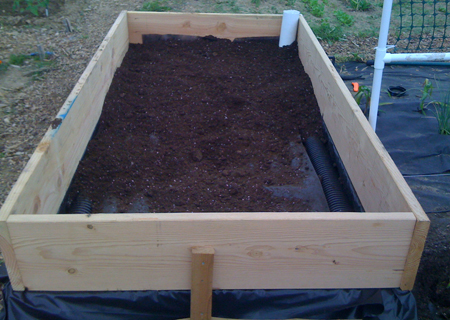
Fill it all the way to the top.
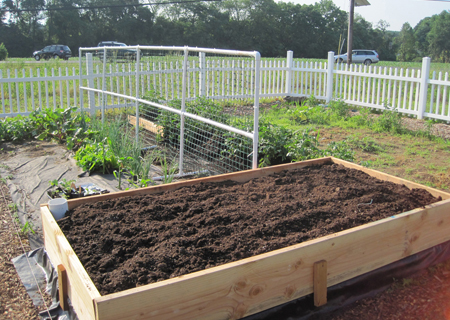
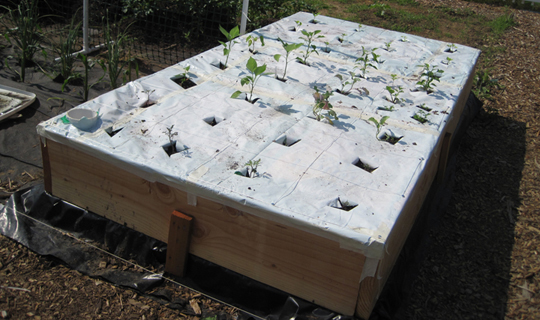
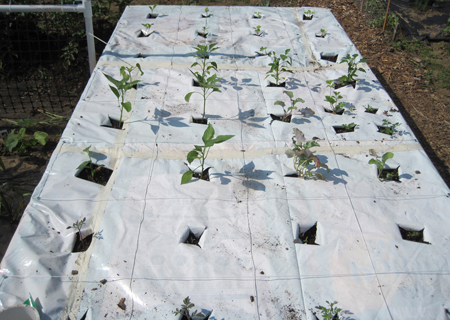
I took the empty potting mix bags and used it to cover the bed. This prevents rainwater from flooding the bed and also keeps the soil warm in cold weather. Once the plastic sheets were on top, I nailed them. One nail every feet. So I had 8 x 4 = 32 square foot marked up. I looped the nails with nylon thread to create 32 square spaces for me to plant. For more on square foot gardening please visit www.squarefootgardening.org. I planted tomatoes, egg plant, peppers the first season. Water directly from the top only the first time around, either when laying seeds or while transplanting. Rest of the time the bed is watered through the fill tube.
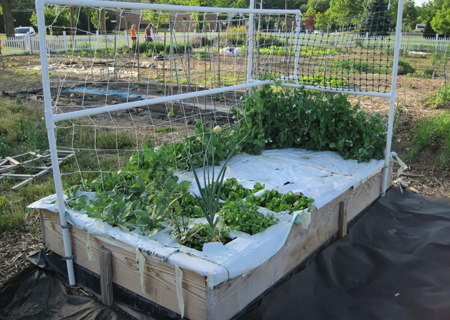
The second season I planted peas and lettuce early in April. I also used some 2” PVC pipes to create a trellis.
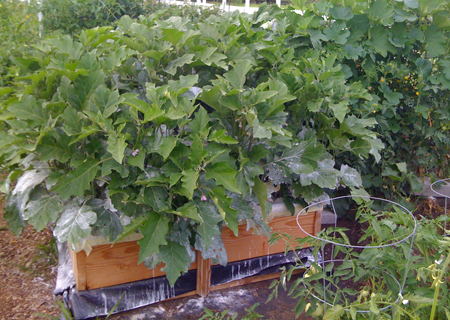
After harvesting the peas I aded some Eggplants.
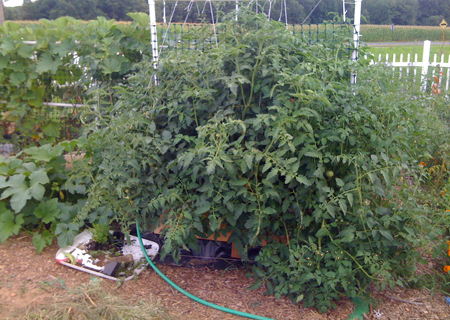
A combination of cherry and roma tomatoes totally took over the raised bed one season.
Hope you will be able to build one this season. It's a weekend's work that will will serve you for many seasons. Good luck.
Look forward to easy to build, a 25 gallon, sub-irrigated tote planter in a day or two. I am just finishing up the step-by-step guide.
 Ram G
Ram G